While climbing, ascending or descending, any fall that is broken by the hands can lead to a fracture of the wrists.
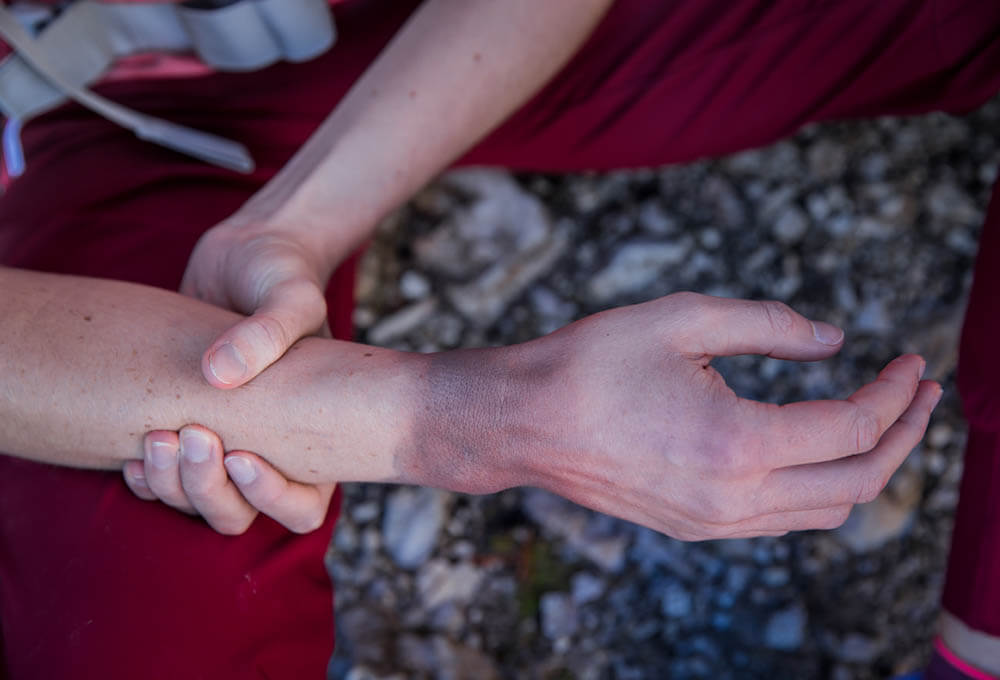
Step 1: Check for discoloration
Although not life-threatening, a wrist fracture can be very painful. Climbing is no longer possible. The fracture site may slowly turn purple and the joint may appear displaced.
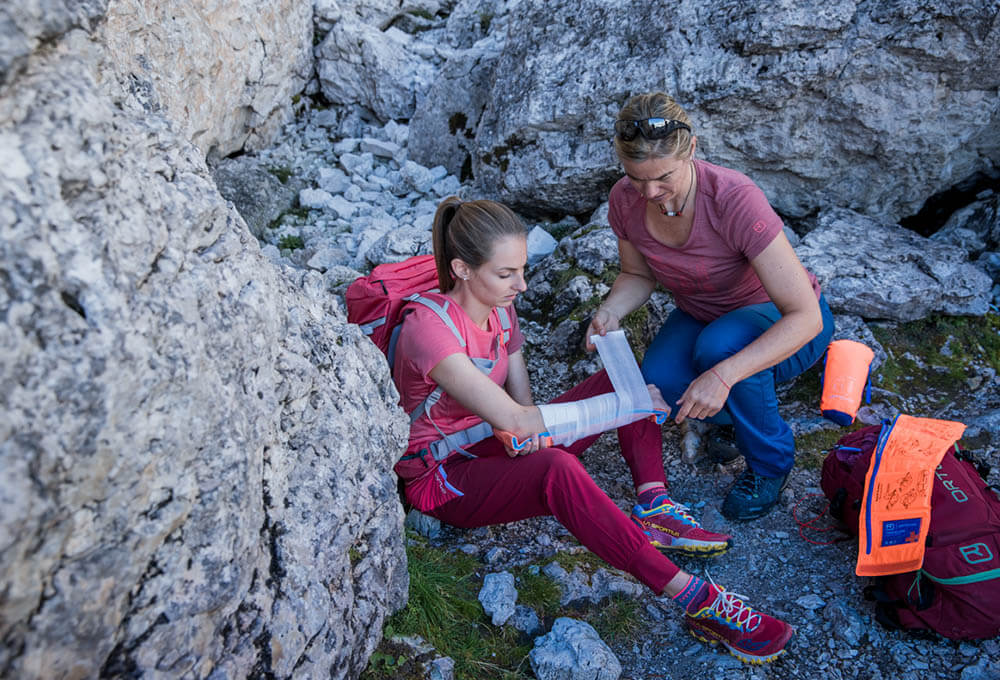
Step 2: Attach splint
If help is a long way off, or if you need to rappel or descend further, it is a good idea to splint the wrist fracture. If a rescue team can reach the accident site quickly, it is sufficient to protect the arm with a sling.
Applying a splint always means moving the arm and this causes pain. So it is best to practice applying a splint in advance so as to be prepared in the event of an emergency. The splint is folded double, formed into a gutter shape and then carefully laid under the injured arm. The splint is now tied loosely to the arm using a gauze or elastic bandage to fix it in place.
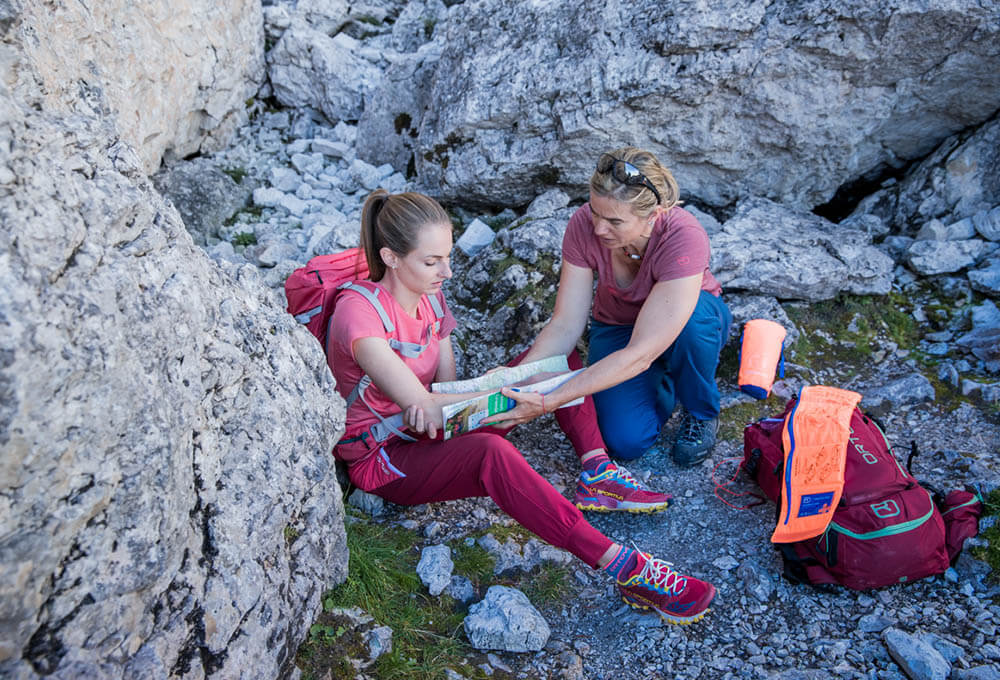
Step 3: Attach an alternative aluminum splint
If you don’t have an aluminum splint on hand and a splint is necessary, you can improvise using a topo. This should be rigid enough to provide the required support.
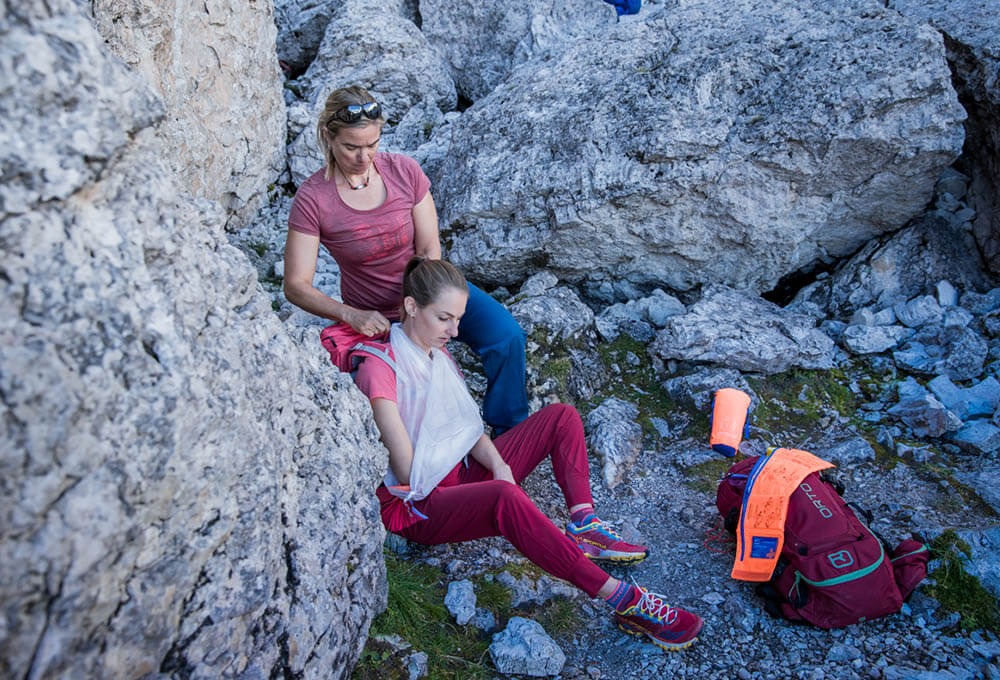
Step 4: Make a sling
The splinted arm is placed in a sling so that the injured person does not have to hold the arm unsupported. This is done by tying a small knot in the 90° corner of a triangular sheet of cloth. This end serves as a pocket for the elbow. One end of the triangle is now fed carefully under the injured arm and tied behind the neck to the other end to form a sling. The fingers should also now be inside the sling.