No bookmark
Video

Rappelling

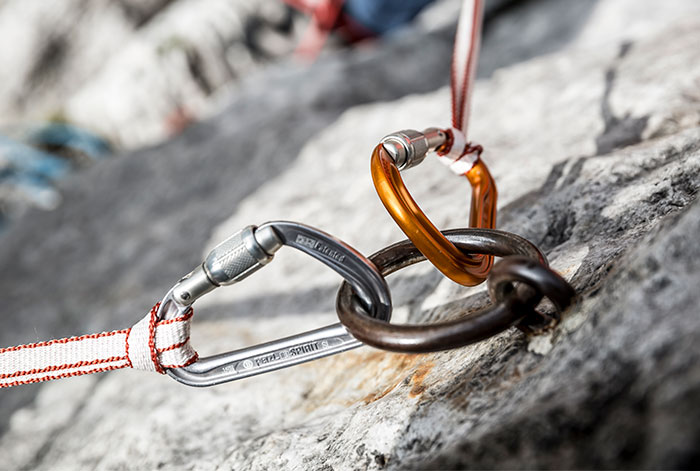
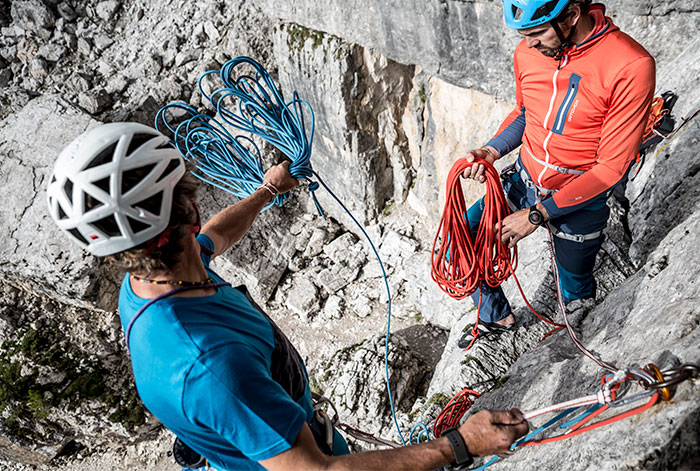
Subchapter: Descent and rappelling

Descent and rappelling

VARIANT 1: RAPELLING

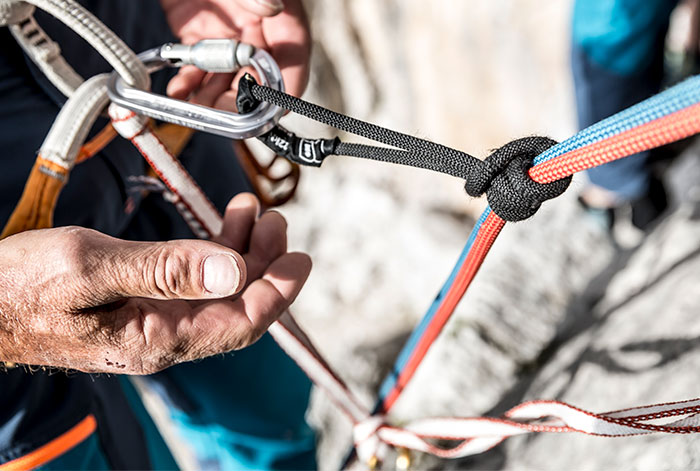
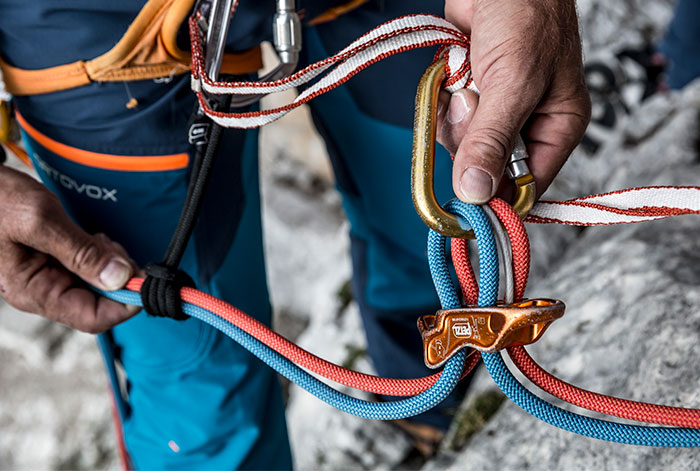
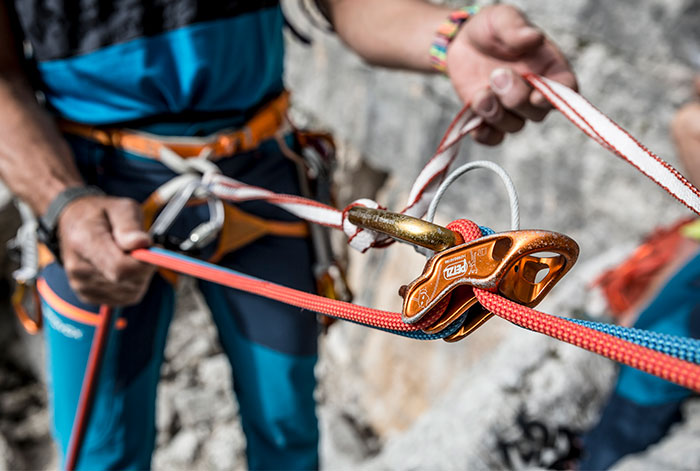
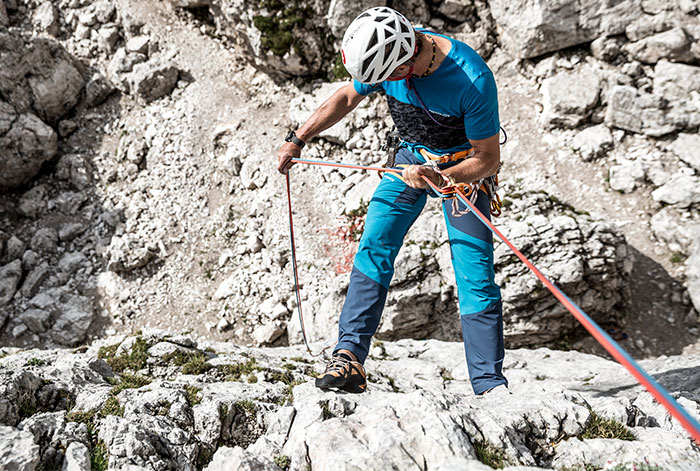
One third of all fatal climbing accidents occur when abseiling due to carelessness and inattentiveness. It is therefore important to use a short prusik as a self-belay when rappelling. Checking your partner and careful preparation are also key aspects of rappelling.

Step 1 Step 2 Step 3 Step 4 Step 5 Step 6 Step 7 Step 8

1. HOOKING IN SELF-BELAY

When abseiling, a so-called “self-belay loop” should be used to secure the abseil belay. This is to be tied to the belay ring on the harness using an anchor knot.

2. THREADING ROPE AND CONNECTING WITH OFFSET WATER KNOT

First, pull the rope through the abseiling point. When abseiling with two half rope lengths, connect the two ends using an offset water knot. Be sure to tie the knot neatly and tighten again.

3. SECURING AND CASTING THE ENDS OF THE ROPES

Secure the other two ends of the rope individually using an offset water knot and then take them up separately. Finally, cast each rope strand separately.

4. TYING A PRUSIK AND HOOKING IT INTO A HARNESS

A short prusik is to be knotted around both rope strands and hooked into the harness.

5. INSERTING RAPPELLING DEVICE / TUBER

Next, pull some rope through the short prusik so that a loose rope loop forms between the short prusik and the abseiling point. The abseiling device (usually a tuber) can now be inserted here without tension on the rope.

6. PULL ON THE BELAY DEVICE

Finally, tighten the rope so that the load is transferred to it and the self-belay loop becomes loose. Only then should you unhook the self-belay.

7. DESCEND WITH LEGS HIP WIDTH APART

You can now start abseiling with your legs hip width apart. In doing so, always keep the ends of the rope in sight to make sure they reach to the next abseiling belay. Always keep both hands on the rope below the belay device. Use one hand to gently push the short prusik downwards.

8. REACHING THE NEXT ABSEIL POINT

At the next abseil point, insert the self-belay and release the rope for your rope partner. Before your partner follows, you can now briefly pull on the rope to ensure that it can be easily removed later.

REMOVING THE ROPE
Before abseiling with two half-ropes, it is important to take note of which end of the rope it can be removed from later: If you pull on the wrong end of the rope, the offset water knot may become jammed in the abseiling ring.

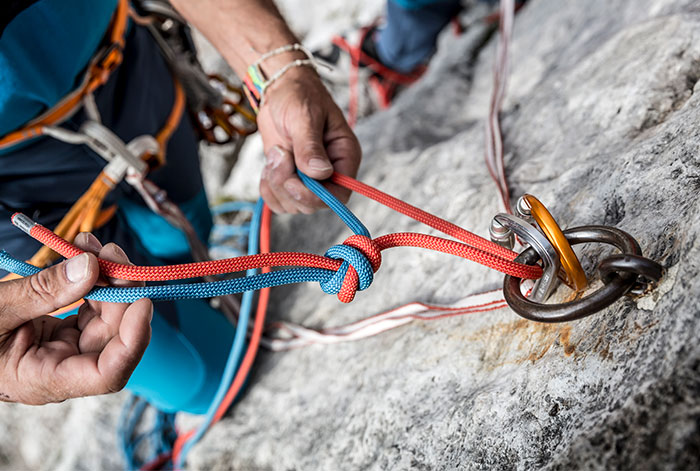
VARIANT 2: LOWERING OFF

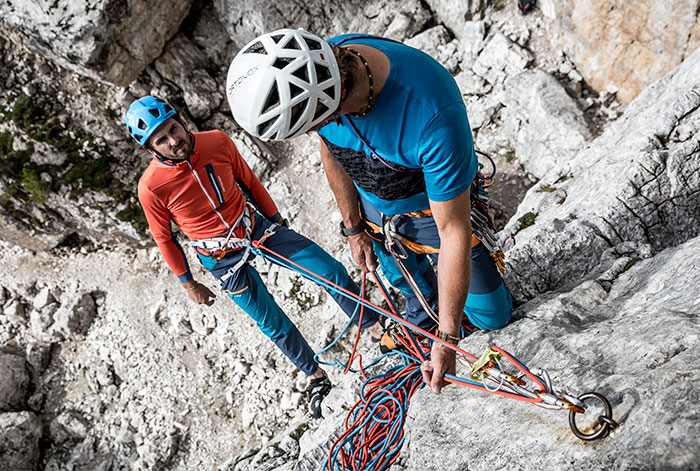
It is often advisable for the first person not to abseil but instead to be lowered by their rope partner. This eliminates the need for casting the rope and prevents falling rocks. In addition, the rope is prevented from being confined behind rocks and blocks when casting on flat terrain.

Step 1: Lowering off using tuber Step 2: Lowering off using tuber

1. LOWERING OFF USING TUBER

An HMS or tuber is to be used for lowering off. The tuber is to be suspended almost upside down under the abseil point. The brake rope must be rerouted again at the abseil point for lowering off, so that it enters the tuber from above.


2. LOWERING OFF USING TUBER

To do this, suspend the tuber from three locking carabiners. This prevents annoying kinking when lowering off.

IMPORTANT WHEN LOWERING OFF! Care should be taken to secure the free end of the rope before lowering, so that the lowered person cannot be accidentally lowered over the end of the rope. If you do not know the exact location of the next abseil point and you cannot see it either, you should ensure that the lowered person is in your sight and that you can call to them so that they can give instructions.

VARIANT 3: DESCENDING VIA A STEEP TRACK

A more strenuous option, but often the fastest, is a descent by foot via a path or steep track. It is important to know the route of this track. Under no circumstances should the rope team leave the track as a shortcut. Shortcuts are often no faster, can lead through protected areas or become precarious due to unsound, precipitous terrain. Descents are often marked by cairns.

ATTENTION: It is not uncommon for descents to lead into dangerous, precipitous terrain. It is here in particular that deadly accidents occur. Even when climbing down apparently simple terrain, concentration is of fundamental importance!

Robust and resistant for demanding tours

Climate neutral Climbing clothing

PALA HOODED JACKET W

PALA HOODED JACKET W

Fine merino wool on the inside
Discover more
PALA HOODED JACKET M

PALA HOODED JACKET M

Fine merino wool on the inside
Discover more
PALA PANTS W

PALA PANTS W

Water-resistant on the outside, comfortable thanks to merino wool on the inside
Discover more
PALA SHORTS M

PALA SHORTS M

Athletic cut for great freedom of movement
Discover more
170 COOL VERTICAL TOP W

170 COOL VERTICAL TOP W

100% natural fibers
Discover more
170 COOL HORIZONTAL TS M

170 COOL HORIZONTAL TS M

100% natural fibers
Discover more
Next chapter

RESCUE METHODS

04 - Rescue methods

Whether for the approach, on the rock face or during descent: If there is an accident in alpine terrain, climbers need to act quickly, correctly and in a considered manner. In the next chapter we will provide you with important information about the correct behavior in emergency situations!

Go to next chapter