Video
Packing a backpack correctly
Subchapter: Pack a backpack
Packing a backpack correctly
Alpine climbers need to pack light. Whether for the approach or on the rock face: To ensure maximum freedom of movement, only take the equipment that you really need. It is important to pay attention to every single gram when packing your backpack. You’ll also need to pack it smartly and ensure it fits optimally.
With large backpacks, it can be tempting to use the full capacity. That’s why climbing backpacks with a volume of 25 liters are ideal. All the important equipment will fit in one of these. For alpine route, it should have a slim fit, be tight-fitting and lightweight. Useful additions such as a side zipper are also helpful, so that you can quickly access the equipment you are looking for. Your equipment should be stored in your backpack so that it has an optimal center of gravity and important equipment is always easily accessible.
We divide climbing backpacks into four “packing areas”:
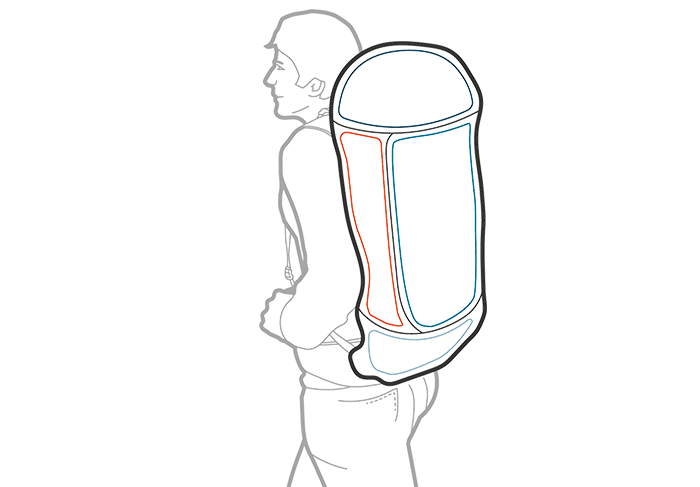
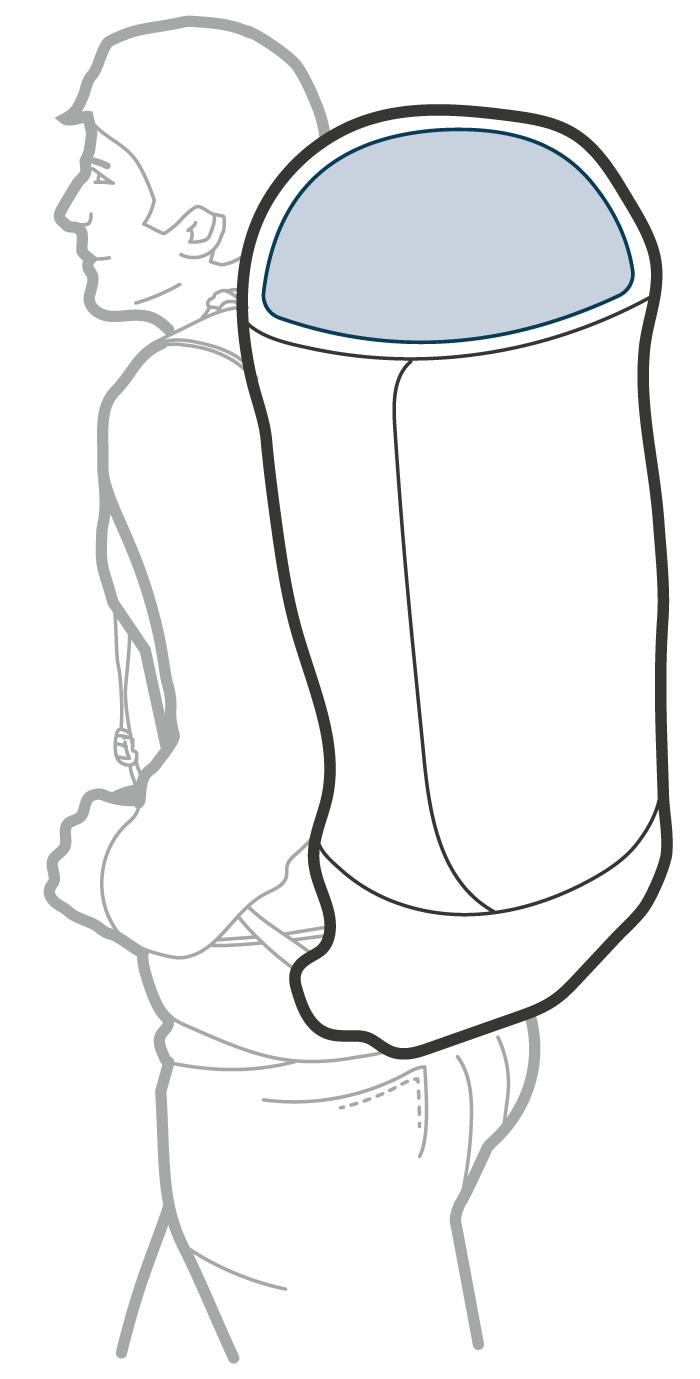
LID COMPARTMENT
Small items such as a cell phone, nuts or a climbing guidebook are ideally placed in the lid compartment where they can be reached quickly.
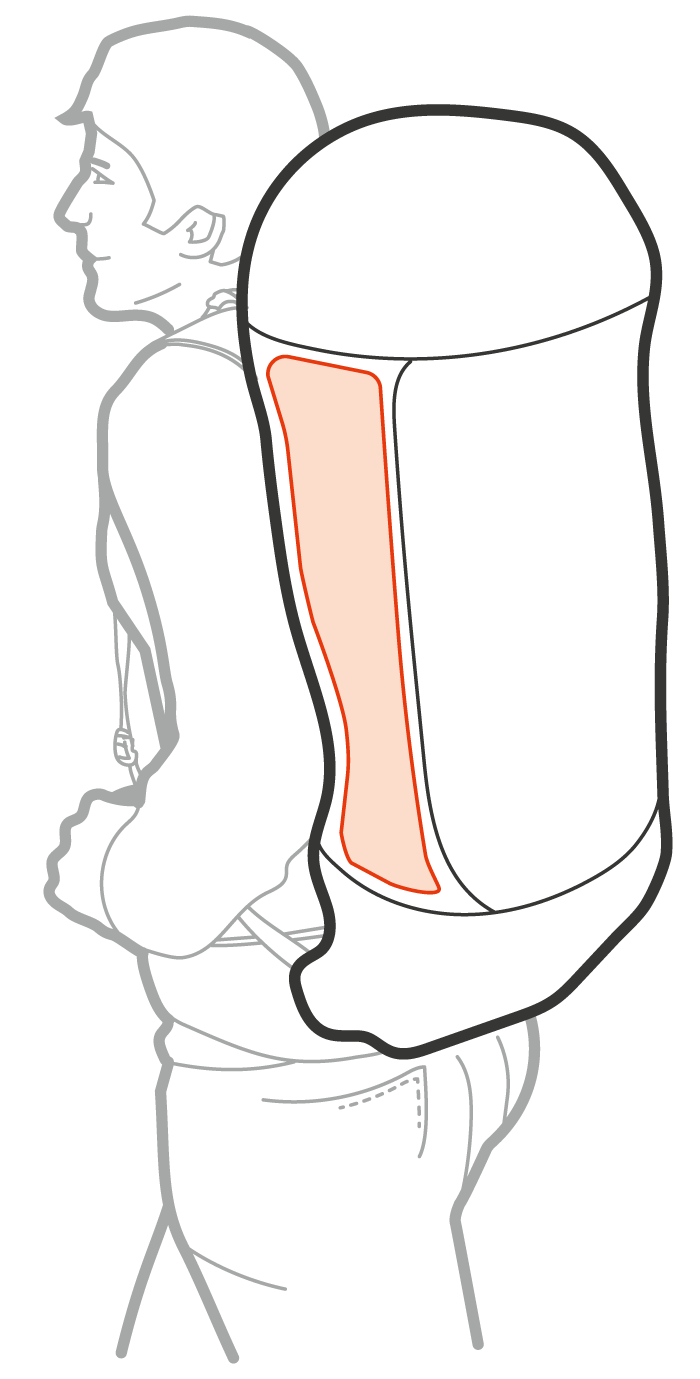
BACK
Heavy equipment such as quickdraws, camming devices and other climbing equipment should be as close to the body as possible without the metal parts being able to push into the back (position across the backpack). This optimally transfers the load to the pelvis via the hip belt. At the same time, the heavy equipment should not be too high up, otherwise the backpack will start to sway.
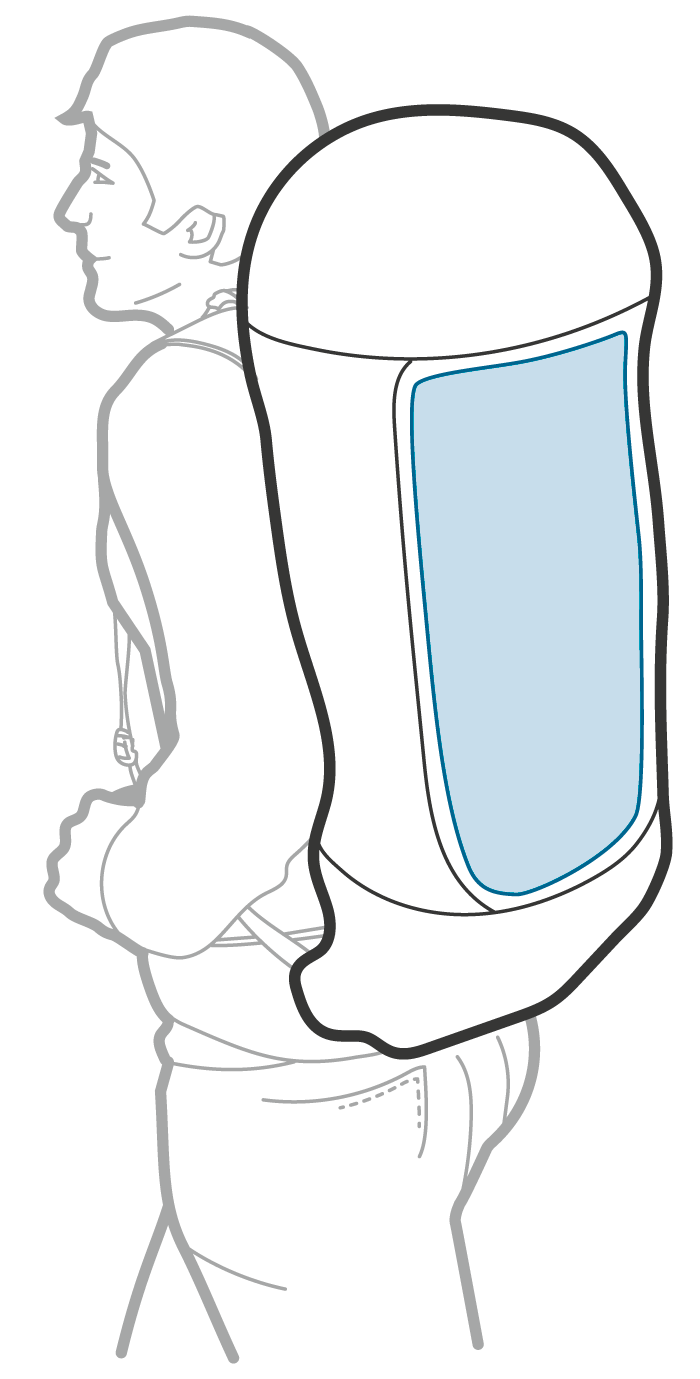
OUTSIDE
Medium-weight items such as clothing can go towards the outside at the top. A harness and slings can be placed towards the outside at the bottom.
BOTTOM
Lightweight equipment such as a bivi bag, first aid kit or hardshell should go at the bottom. A circumferential zipper is helpful to keep these items accessible.
Finally, we can push the rope into the backpack from the top or secure it under the lid using the rope attachment (between area 1 and 2/3). A helmet can either be placed on the rope in the backpack or, if it has a rope attachment, attached under the rope as the last thing to go in the backpack.

Check your equipment list
Got everything? Check your equipment with the ORTOVOX equipment list!
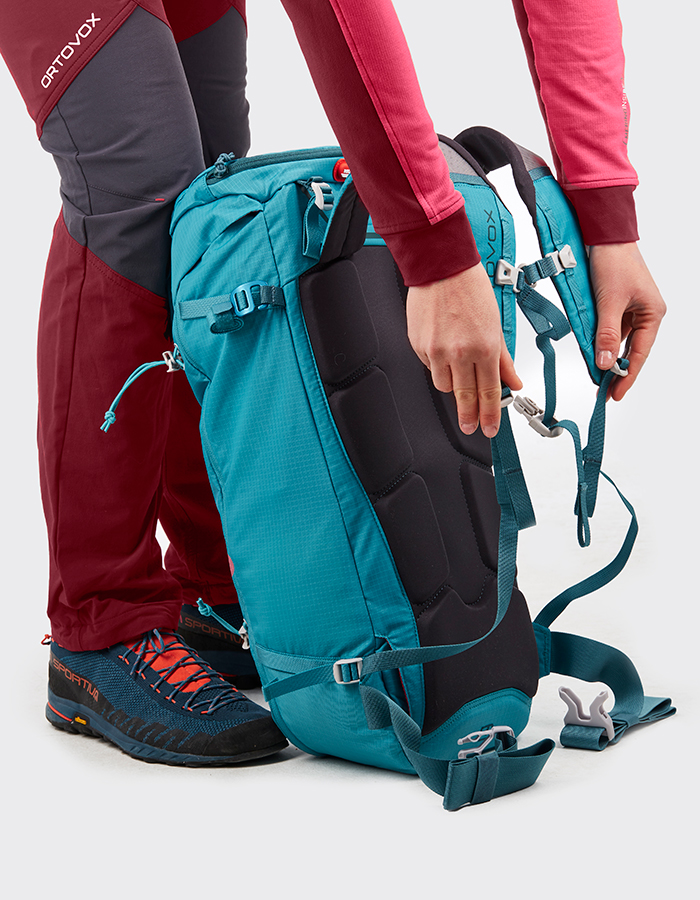
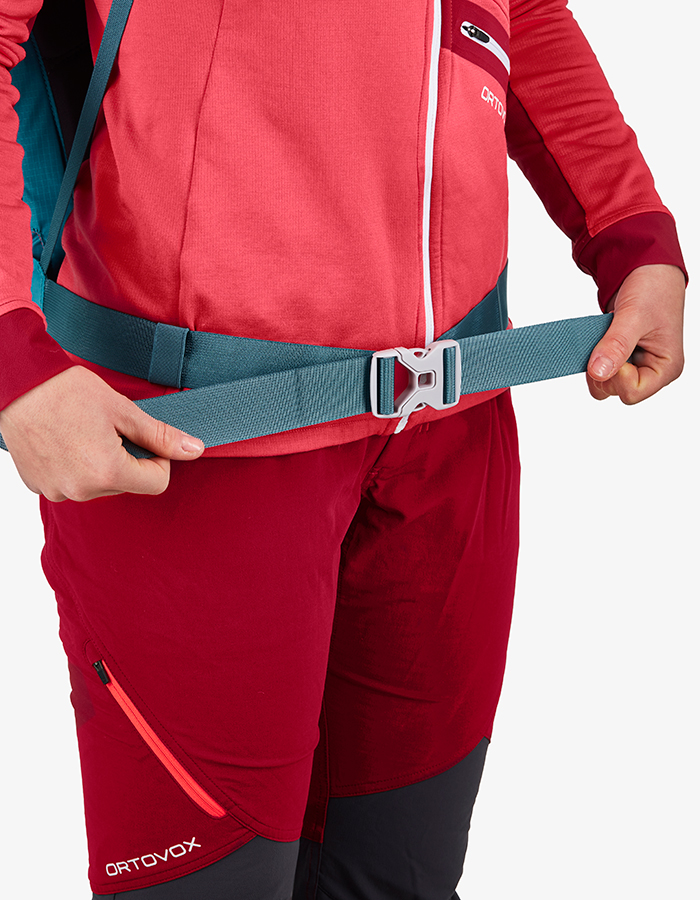
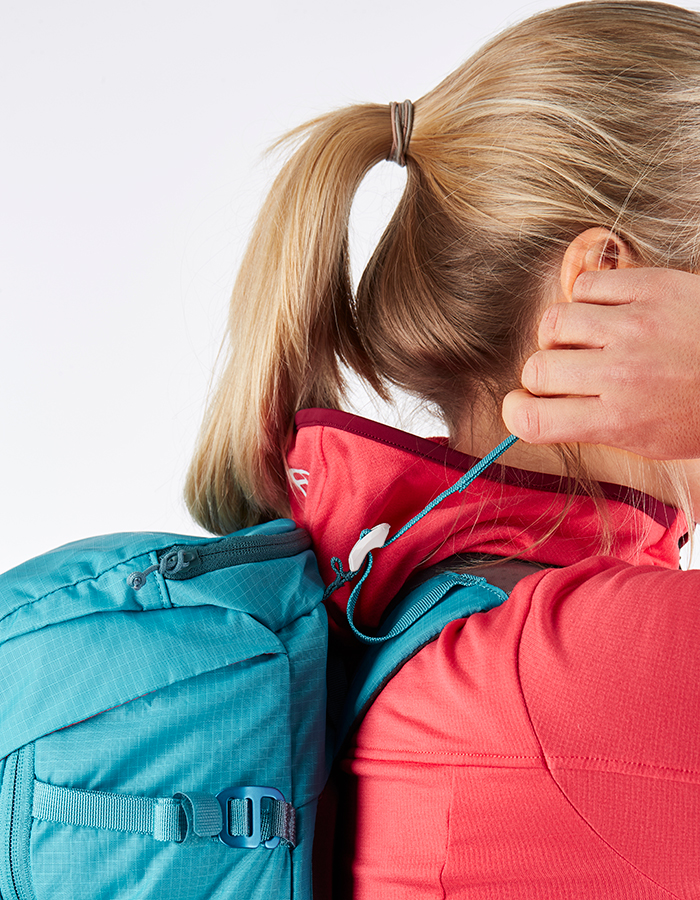
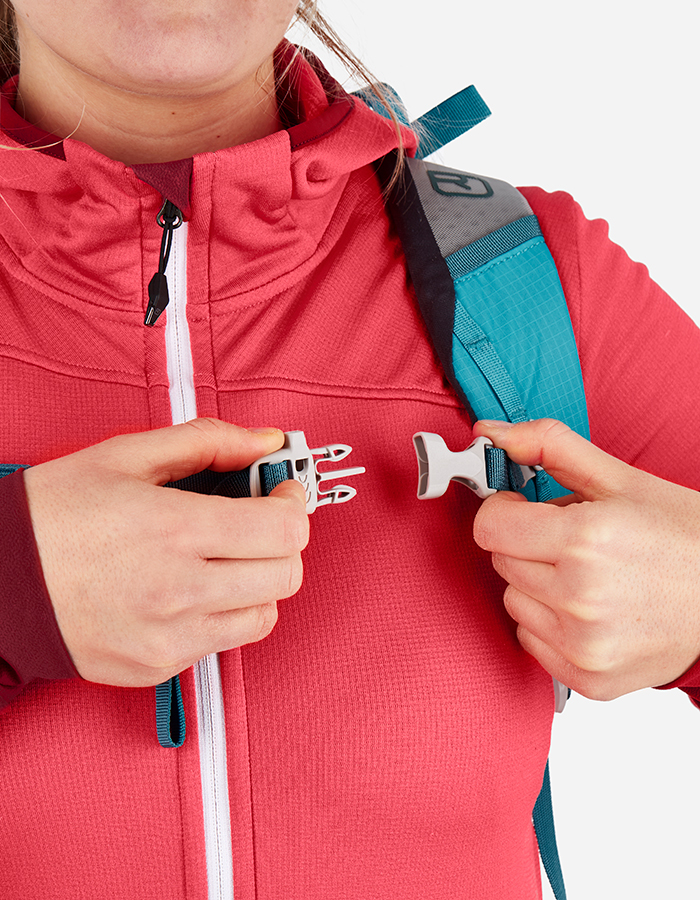
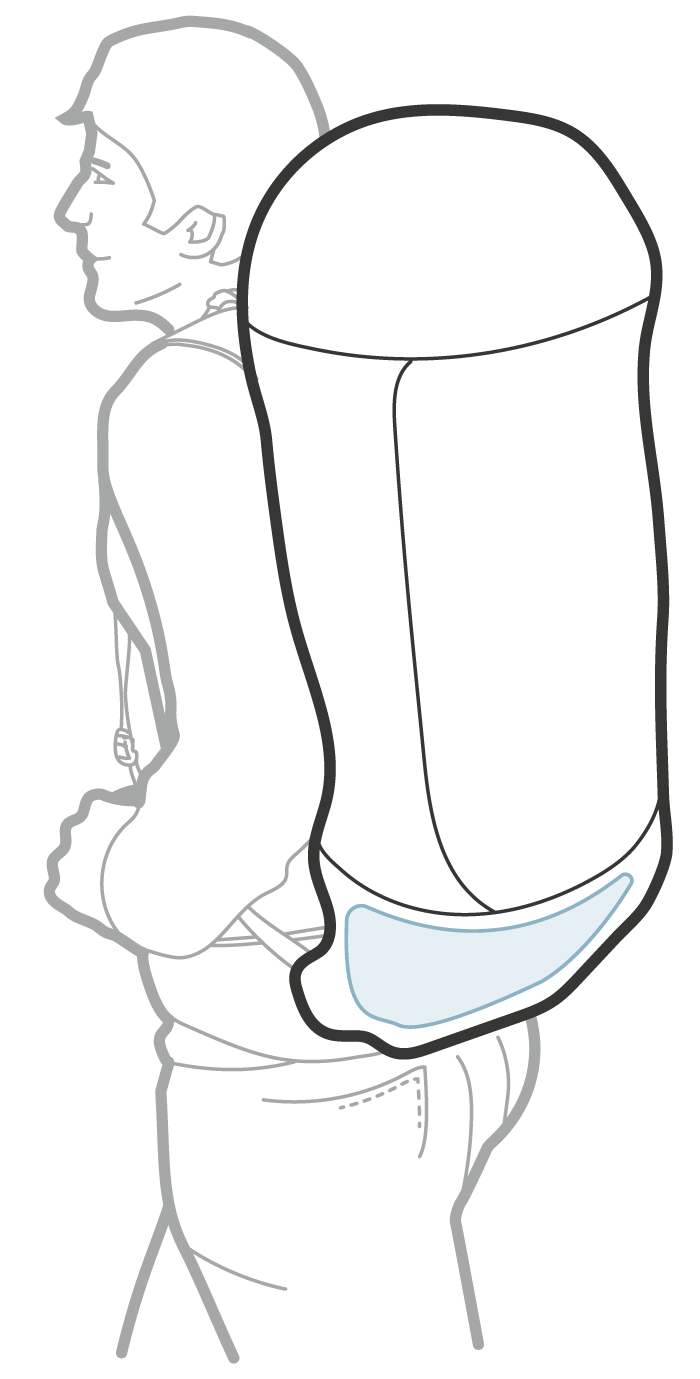
Adjusting your backpack
The better a backpack is adjusted to fit an individual climber, the easier it is to carry and provide sufficient freedom of movement on the rocks.
The following five steps describe how to optimally adjust your climbing backpack: