No bookmark
IN THE TERRAIN

It is important to check these point again when you reach the mountains:

  1. Before the tour begins, you must check your equipment . Do you have your individual emergency equipment (avalanche transceiver, shovel and probe) and group emergency equipment (enough cell phones, first aid kits and bivy bags) with you? 

  2. An avalanche transceiver check is to be conducted before setting off. If you regularly travel with the same group of people, doing a “quick” avalanche transceiver check should be enough. If there are new participants in the group, a “thorough” avalanche transceiver check is recommended. 

  3. The rough route should be clear and briefly discussed. If the route is visible, you can begin planning your tracks. 

  4. The current avalanche bulletin and danger situation should be checked and discussed once you reach the mountains. 

  5. Are all group members feeling alright? Can they cope with the tour and does everyone have a full set of suitable equipment?

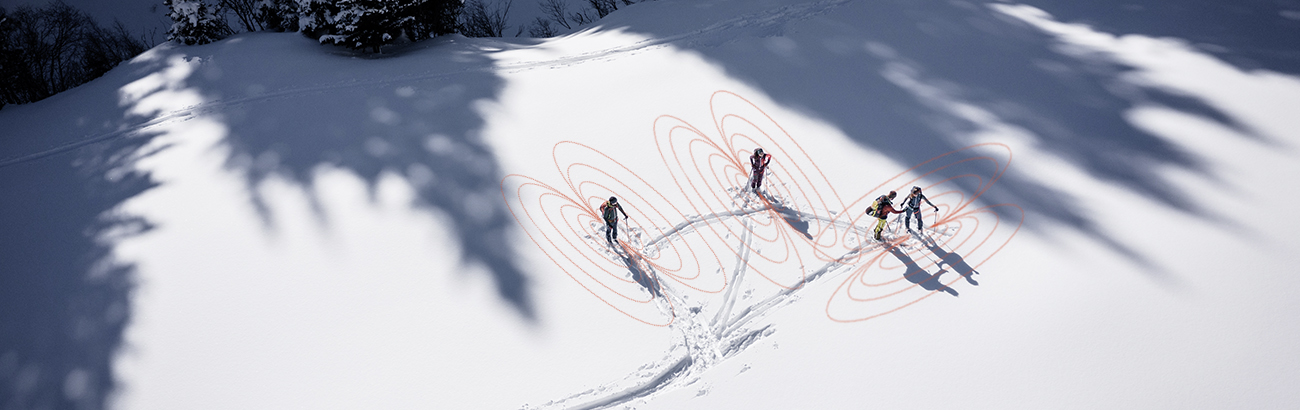
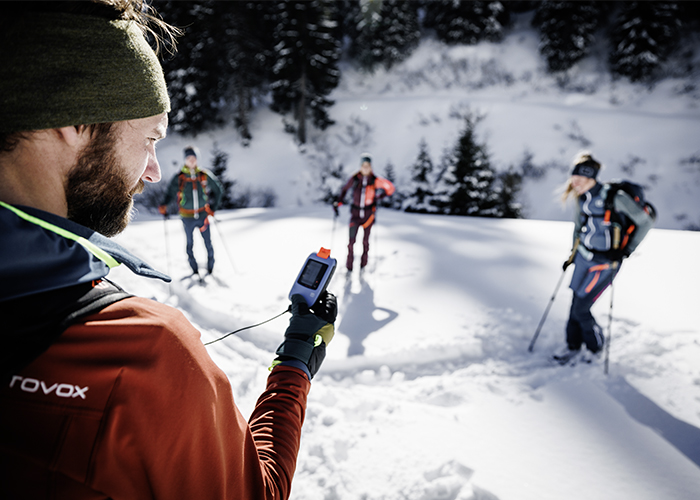
AVALANCHE TRANSCEIVER CHECKS

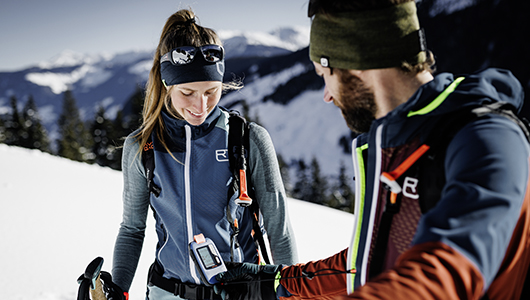
An avalanche transceiver checks are now a standard part of tour preparation. The aim is to check whether every group member has a functional avalanche transceiver with them. Carrying a probe, shovel and avalanche transceiver is considered a common standard of generally accepted practice in the backcountry. Experienced group members who start without carrying out an avalanche transceiver check can be accused of “culpable negligence” if inexperienced members come to harm as a consequence. 

VIDEO

THE RIGHT WAY TO PERFORM AN AVALANCHE TRANSCEIVER CHECK

Thorough avalanche transceiver check

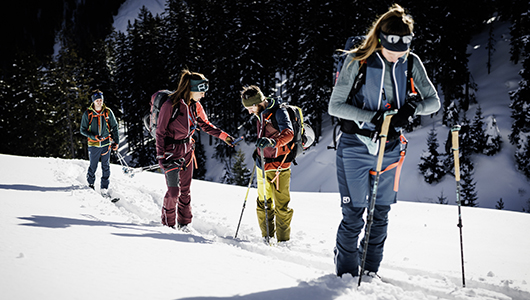
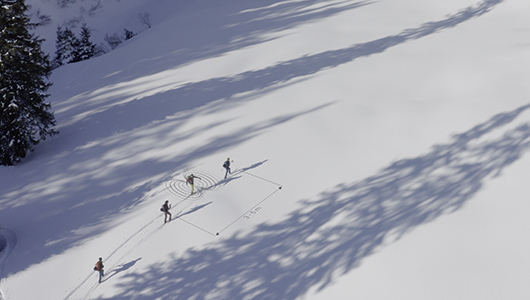
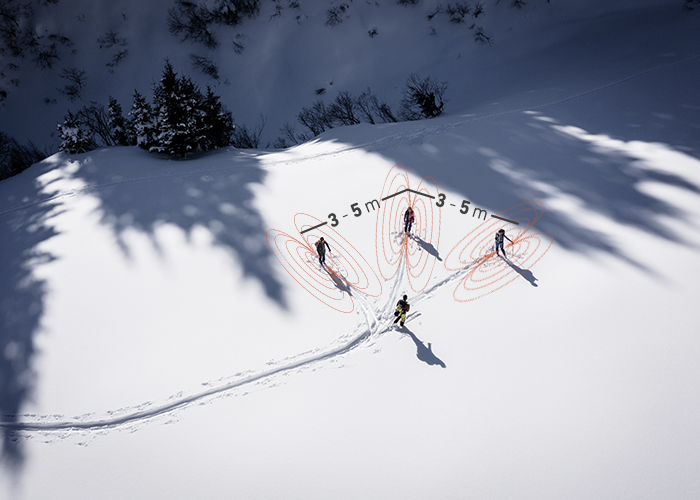
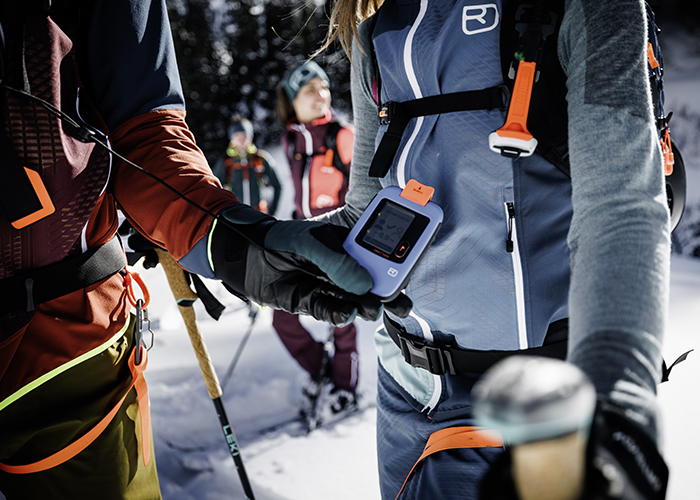
As part of the thorough avalanche transceiver check, each device is checked in both function modes; this means you check that all devices can both transmit and search. Because, from a technical point of view, both functions work independently of each other. This check makes it immediately clear whether all group members know their device well enough to switch them from “transmit” to “search” and back. Both the quick and thorough avalanche transceiver checks can be performed in a semi-circle or in a line (one behind the other). The method below is for a group standing in a line.

Step 1 Step 2 Step 3 Step 4 Step 5

Step 1

The group members line up with a distance of 2 to 3 meters between them. The “controller” – the person carrying out the check –  stands around 5 to 10 meters in front of the group and switched their device to “transmit”, while the other group members switch their devices to “search”.

Step 2

The group members now walk in a line   past the controller, maintaining a distance of 3 to 5 meters from the person in front. When doing this, everyone in the group can watch as the distance displayed on their device changes, first decreasing and then increasing again. 

As each person goes past, the controller can also check whether the transmitter signal is being displayed. 

Step 3

Now the controller should be standing around 5 to 10 meters behind the group. The group members stand in a line,  once again maintaining a distance of 2 to 3 meters from the person before them. Each member of the group now switches their avalanche transceiver to “transmit” and stows it away  as usual in the carrying system directly against their body, i.e. under their top layer of clothing or in an inside pants zipper pocket. The controller switches their device to “search” and then walks past the group from behind. 

Step 4 

As they walk past, the controller checks the display for each group member. They check whether every avalanche transceiver is actually transmitting and whether the distance displayed is plausible. A distance that is clearly too large suggests a device with a broken transmitter antenna. The optimal way to perform the last part of this check is with the controller’s avalanche transceiver set to “group check mode”. This reduces the reception reach of their device to around one meter. This enables the controller to clearly determine whether it is really the person directly in from of them that is transmitting the signal.

Step 5

Once the check has been completed, the controller switches their device back to “transmit” and stows it away in the carrying system close to their body. 

Quick avalanche transceiver check

The quick avalanche transceiver check is used only to check whether every participant has switched on their avalanche transceiver and that they are transmitting properly. Modern avalanche transceivers automatically conduct a self-check, meaning that a defective search mode would be displayed as an error message.

Step 1 Step 2 Step 3 Step 4

Step 1 

The group members stand in a semi-circle or in a line one behind the other, switch their devices to “transmit” and stow them away in the carrying system close to the body. 

Step 2 

The controller switches their device to “search” or ideally to “group check mode”.

Step 3 

The controller now goes up to every group member and checks whether each individual device is transmitting and whether each reception signal is showing a realistic value. A distance that is clearly too large suggests a device with a broken transmitter antenna.

Step 4 

Finally, the controller switches their device back to “transmit” and stows it away in the carrying system close to their body.

Keep your eyes and ears open...

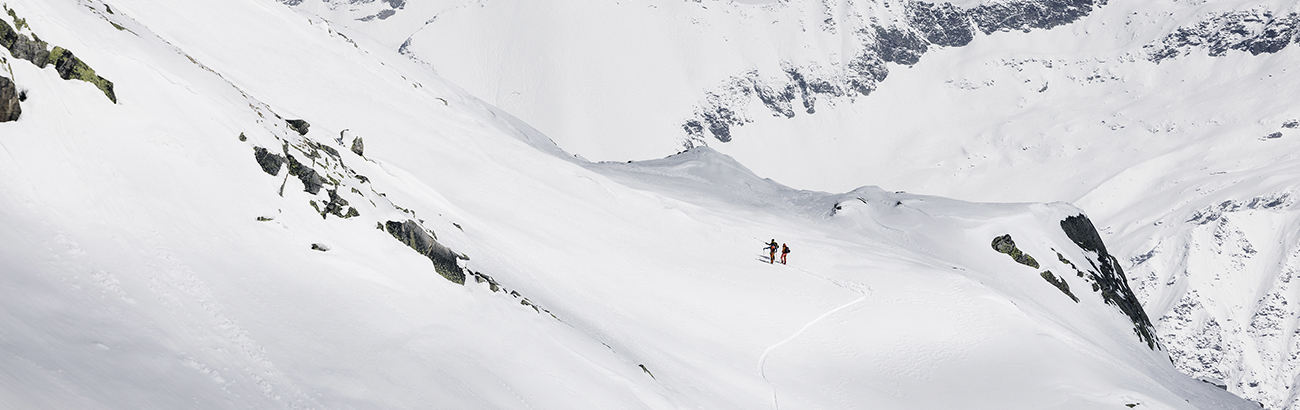
When we are out and about in the mountains – so at level two of the 3x3 filter method – we collect all of the important observations about the three contributing factors “conditions”, “terrain” and “people”. Much information that was missing in the planning stage is now “gifted” to us outside – we just have to be attentive and identify it.

Warning signs 

Warning signs indicate a volatile avalanche situation. Warning signs include fresh avalanches that occurred no more than a day ago, whumpf sounds and cracks that appear when you step on the snowpack. If you observe and warning signs, you should immediately take defensive action, i.e. remain on terrain with a steepness of less than 30° and keep away from big slopes!

Fresh avalanches Whumpf sounds Cracks when stepping on the snowpack

Fresh avalanches

A highly experienced avalanche expert once said: “Avalanches are the best indicators of avalanches!” If there is evidence of fresh slab avalanches, you must assume that further avalanches are lying in wait at similar slope aspects, elevations and terrain features. 

The fact that an avalanche has released proves that there is a weak layer that could be disturbed, and that a crack could propagate.

Whumpf sounds 

Whumpf sounds shake you to the core. A “whumpf” happens when a snow slab settles and the weak layer underneath collapses. The air in the weak layer has to escape. Similar to when you blow up and then pop a paper bag. A whumpf sound is proof of a weak layer that could be disturbed, and that a crack could propagate.

Cracks when stepping on the snowpack

Cracks when stepping on the snowpack show that a slab exists and that there is a weak layer underneath it and that – depending on the length of the crack – propagation is possible. Cracks are formed when the weak layer is so thin that a “whumpf” can barely be heard. Often, both warning signs occur together.