Video
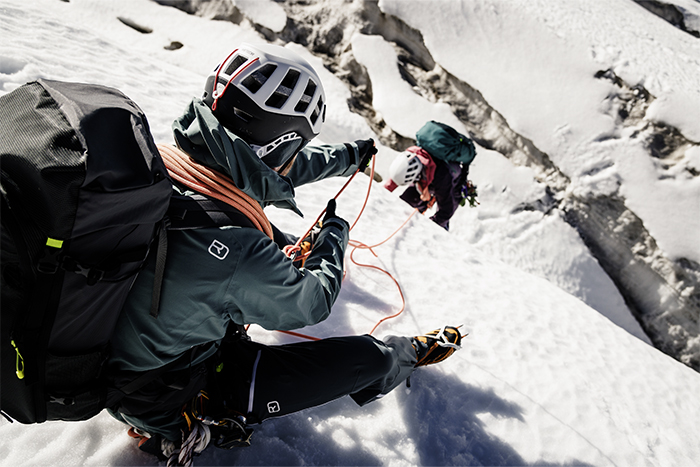
Anchors on firn
ANCHORS ON FIRN
Firn is snow that has survived at least one summer (or a period of ablation). That’s why firn is found at high altitudes on glaciated terrain and permanent snow fields. Repeated thawing and freezing causes fine snow crystals to transform into denser granular crystals. There are two ways to set up an anchor on firn: The t-slot anchor and the sitting hip belay.
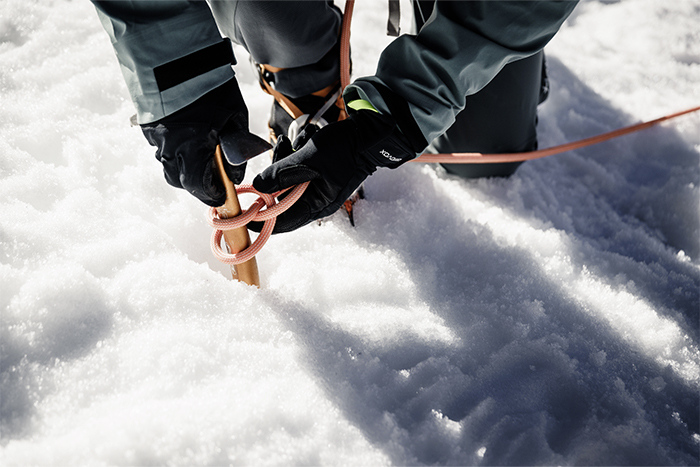
T-SLOT ANCHOR ON FIRN
The t-slot anchor – also known as a deadman anchor – is the most important, most reliable anchor on firn. It is usually built using an ice axe – but a ski or backpack can also be used in an emergency. If the snow is very soft or wet, use a backpack.
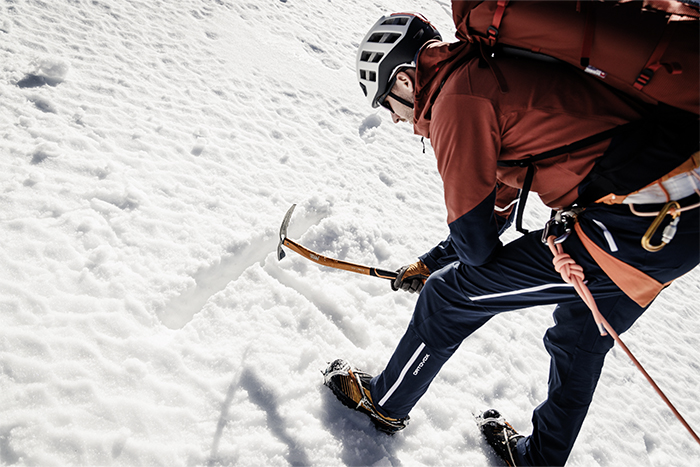
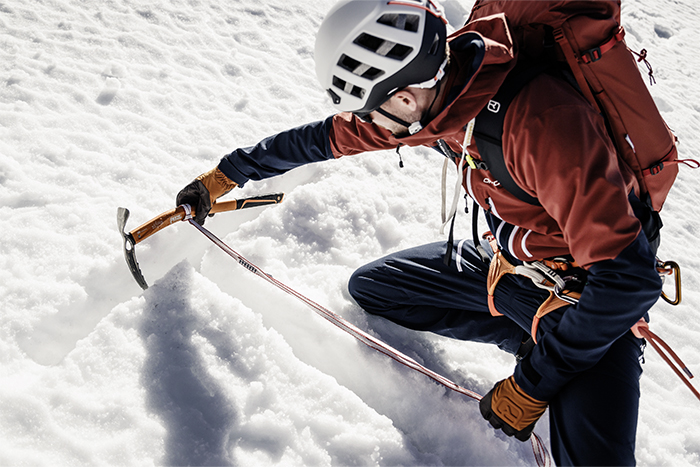
First dig a slot as deep in the snow as possible and perpendicular to the load axis – it should be at least 30–50cm deep, depending upon the compactness of the firn. Then dig a second slot for the sling at right angles to this slot, in the pulling direction and rising slightly upwards. The looser the firn, the deeper you should bury the anchor.
At right angles to this slot, in the pulling direction and rising slightly upwards, dig a second slot for the sling.
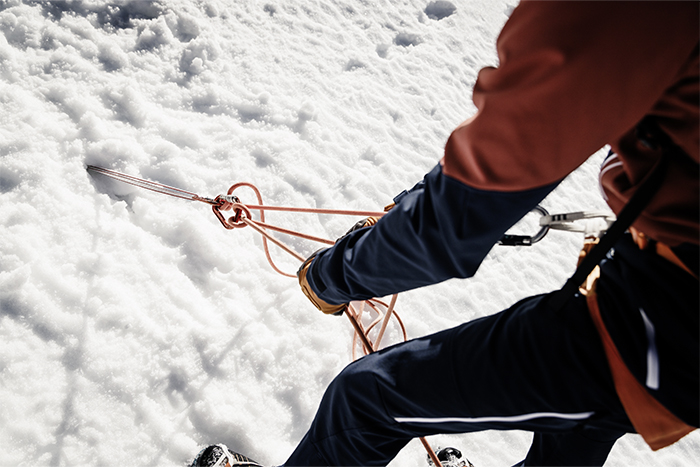
Using a girth hitch, tie your longest sling around the shaft of the ice axe at its center of gravity. Then use your foot to press the ice axe as firmly as possible into the slot with the pick pointing downwards. Feed the sling out through the perpendicular slot.
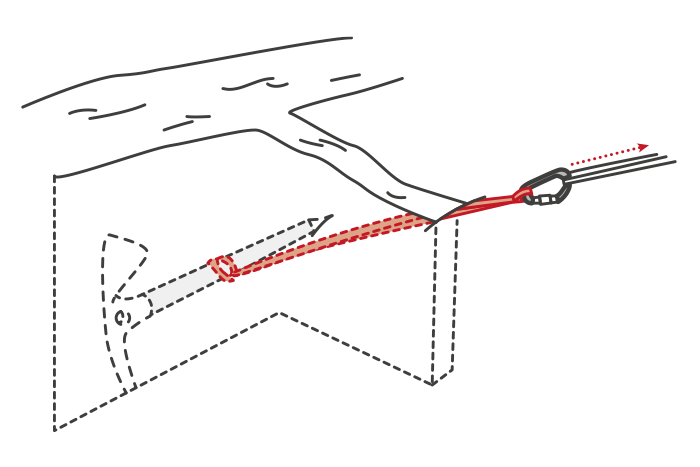
Finally, cover the t-slot with snow and stamp it down firmly. A locking carabiner, for partner belay or personal anchoring can now be clipped into the sling, or an anchor set up for a rescue procedure.
A t-slot anchor should have a backup anchor; for a crevasse rescue, as a minimum this should be the person beside the anchor using his taut bodyweight. For training purposes, this backup anchor should be a second t-slot anchor.
The sturdiness of t-slot anchors depends greatly upon the snow consistency and can vary widely. The values lie somewhere between 80kg for very soft or wet snow to 600kg for dense, compact snow.
SITTING HIP BELAY ON FIRN
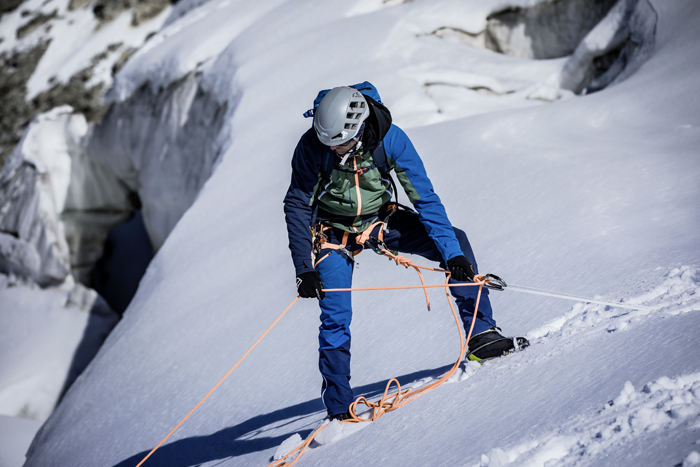
The sitting hip belay is intended only to lower your partner or as a protection point on steep sections. The holding force here is low, as the belay’s only counterweight is your own body.
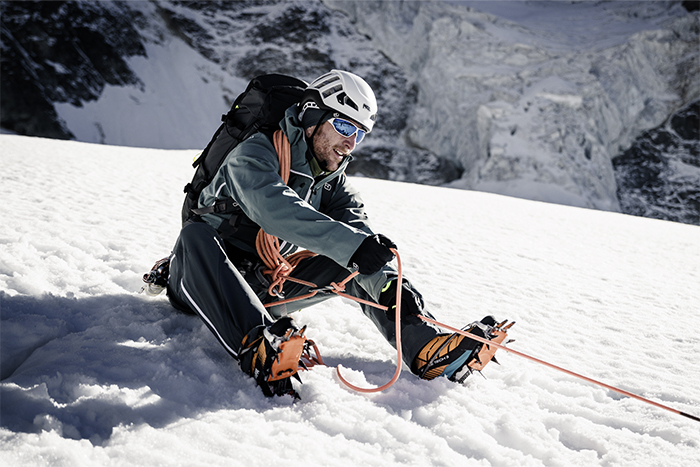
Find a flat area to sit down, form a hollow and adopt a stable sitting position. Then dig your heels into the firn to create a compact foothold so you are firmly anchored by your feet. 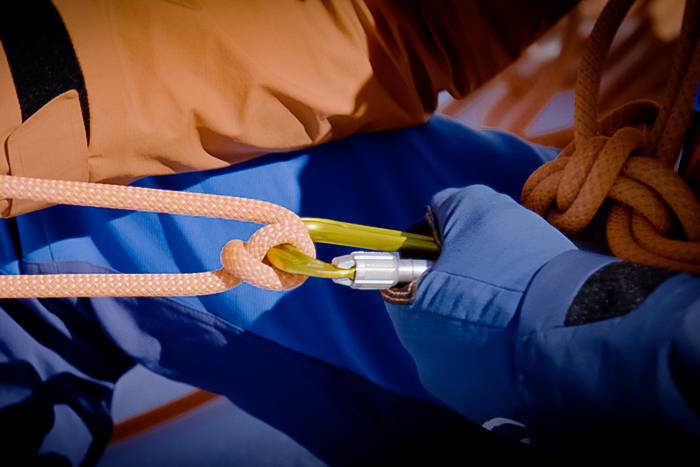
Now you can clip your belay carabiner directly into your harness and belay your follower on a taut rope using a belay device or Munter hitch belay (HMS).
In addition to this, you can distribute the load by planting an ice axe vertically: Tie a sling around the shaft of the ice axe using a girth hitch and clip this into your harness using a locking carabiner. Ram the ice axe vertically into the firn with the pick perpendicular to the slope. You then sit in front of the ice axe and pass the sling between your legs. The load is now distributed between the planted ice axe and your body.
Video
Anchors on ice
ANCHORS ON ICE
Two types of anchors come into question on ice: the ice screw and the V-thread anchor. Both methods have excellent holding strength – although again the characteristics of the ice are crucial: it should be very firm and without large air pockets. In addition, both techniques call for experience with ice screws.
ICE SCREWS
Depending upon the composition of the ice, an ice screw can hold a higher load than an anchor in snow. This makes it an ideal anchor that is relatively quick to set up – either as a belay station, protection point or for a crevasse rescue.

First, clear the area of snow and soft or brittle ice using the adze of your ice axe until you reach compact glacier ice; this should have no air pockets.

Then screw in the ice screw at an angle of 90° to the ice. When the screw bites after five or six turns, fold out the crank and rotate it rapidly until the hanger is flat to the ice, then fold the crank back in. Now you can clip in a carabiner for personal anchoring, partner belay or set up an anchor for a rescue procedure.

When screwing in the ice screw, check that a compact core of ice comes out of the middle of the screw – if no ice comes out, you have screwed into a cavity.

It is always best to use two ice screws to build an anchor point on ice, one above the other at a distance of 60 to 80cm.
Ice screws can only be used if they are free of snow or ice inside – for this reason, always remove the ice plug after unscrewing.
V-THREAD ANCHOR
The V-thread anchor (Abalakov anchor) is a very secure anchor from which you can rappel using minimal equipment. However, they do require a little effort to make.

First screw a long ice screw (18–23cm) into the ice at an angle of 60°. Then drill a second hole at 60° that taps into the first drilled hole to form a V-shape under the ice. The distance between the two holes at the surface should be the length of the ice screw. This second hole should join up with the bottom of the first hole to form an equilateral triangle. 
Next you feed through an accessory cord of at least 6mm diameter. Use an “ice threader” to fish the other end of the cord out of the hole.

The two ends are now tied with an over hand knot, into which you can clip in a locking carabiner for personal protection, partner belay or set up an anchor for a rescue procedure.

The solidity of a V-thread anchor depends upon the volume of the ice bridge. That’s why it is important to use the longest screws possible and to join up the two holes as deep below the ice as possible. This requires practice!